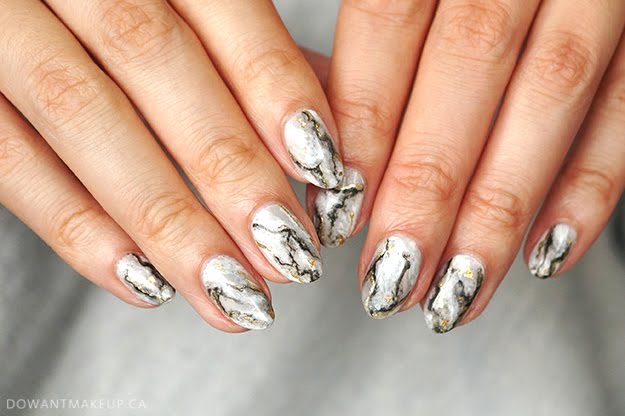
I can always tell how much I loved a certain set of nail art by how many photos I took. Different hand poses, different lighting, close-up photos,
lots of very slightly different angles to catch every detail. So I definitely loved these grey marble nails (for which I made my first
nail art tutorial ever), but it makes it really hard to pick out just a couple photos to make it into a blog post.
Marble is a lot different from nail art I've done in the past that needs a lot of precision to look just right. It's especially great for de-stressing, because I'm super focused but not stressing out too much about how it doesn't look like my reference photo, not proportioned right, etc etc
With marble nails I can sorta just happily doodle along. I don't even need to draw straight lines -- it's actually very satisfying to draw a freeform jagged vein.
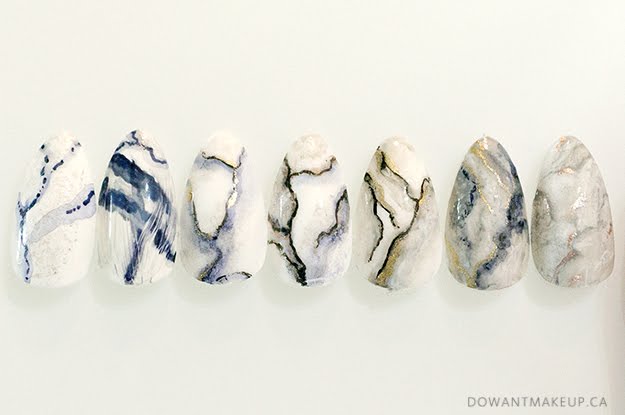
It took a lot of trial and error (and YouTubing!) to get the marble I wanted. I made a point to take a photo of all my practice attempts on these nail tips, to show it can take some experimenting before getting to the final photo on Instagram you see.
Lots of the beautiful marble nails I saw were created with gel polish, which has a lot of flexibility and blendability (?) well-suited to this look. Regular polishes start drying very quickly so it's a little more challenging. The first couple tries were with a black Sharpie marker blended down with rubbing alcohol--you can tell which ones because the veining is more purply. (PS I got better results if I had a thin layer of top coat on before the Sharpie.)
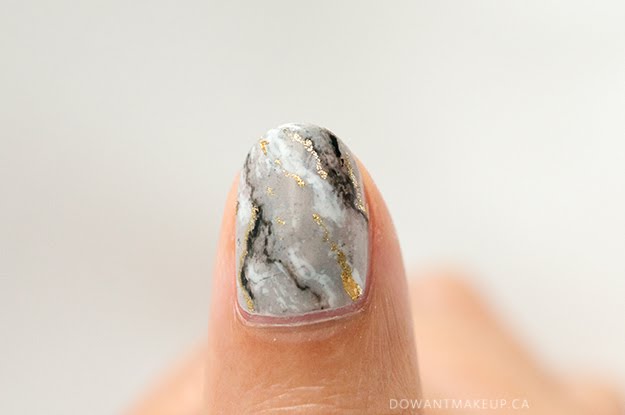
I also really love how one of my thumbs turned out. My thumb never appears in my nail photos; mostly that's a good thing because it's always the first nail I paint, and the first one can be kind of potato. This one turned out to have just the right consistency in the veining and mix of greys and whites, at least to me. (I used Kiara Sky Pure White, China Glaze Pelican Grey, Lise Watier Tartan Chic, Orly Luxe, and the occasional gold foil leaf.)
To get depth, I did layers of sponging, painting thin lines, painting thicker lines, going back and painting more thin lines or blending some out with nail polish thinner. It sounds tedious but was very meditative for me. If you're the opposite, it's totally fine to even skip a few of the steps in the tutorial and still get a great result.
 |
| I don't know why my hands are two different colours |
Hope you enjoyed my marble nail photo dump! (And if you didn't, I'm sorry because I have at least two more marble-esque nail art posts in Draft right now lol)


